How to apply the proper embossing techniques on your crafts
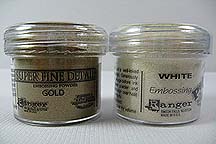
What is 'embossing techniques' ? Well, there are two types of embossing. One is 'dried embossing' and another one is 'heat embossing' in some paper crafts work. Here, I'm showing you the 'heat embossing' with the craft embossing tools heat gun, embossing pigment ink which is slow drying ink, embossing powder and embossing glue. After the powder melts it produces 3d effect on the surface. Use proper craft heat gun designed for crafts. I won't advise you to use the normal hair dryer as the temperature is not right and it takes much much longer to melt the powder and your ink will dry off before the thing is done. Please follow the proper embossing techniques step by step bellow.
Kindly note that when using craft embossing tools adult's supervision is advised for children under 12 years old.
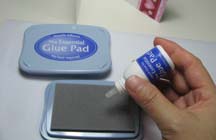
1. If you don't have embossing pigment inkpad, use the special glue for embossing as seen here. Drop one or two drops depends on how manytimes you need to stamp. Each drop of the glue allows you to have up to approximately 5 times of usage or more depending on the size of your stamp. After dropping the glue, spread evenly on the sponge. My advise is, if the picture of your stamp is small then do not spread the glue to much.
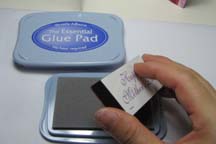
2. Stamp the rubber stamp or clear stamp on the glue pad then stamp the rubber stamp on craft paper. Cover the inkpad immediately to avoid dried-up. Proceed to step 5.
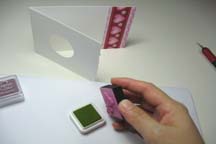
3. If you don't have the embossing glue pad, use the pigment ink pad specially for embossing.
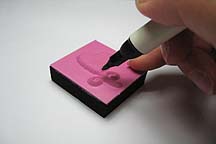
4. Or you may use pigment marker to apply on the rubber stamp.
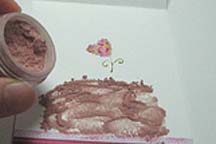
5. Fold a paper into half then open back and lay it underneath your craft work before you stamp on it. After stamping on the craft paper, without further delay while the ink is still wet, pour the color or clear embossing powder on the picture.

6. Using fine brush, gently brush away the unwanted dust.
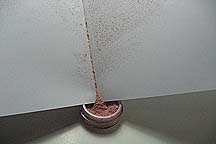
7. Pour the access dust back to the container.
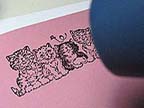
8. After that use the craft heat gun to emboss it. It is important to take the safety measure when using the heat gun. Always keep a distant of about 3in away from the paper and make sure there are no other things like plastic around. Do not put your craft paper on plastic or glass platform when embossing as the heat may melts the plastic or causes the glass to crack! So wooden platform is still the best. After using the heat gun do not touch the 'nasal' of the heat gun as it may still hot. Here you are, easy embossing techniques! So start your craft and have found now!
How to care for your rubber stamp after used?
What should you do after using your rubber stamp?
I recommend using the Rubber Stamp Cleaner such as Tsukineko Stamp Cleaner or other brands of stamp cleaner. The cleaner solution not only cleans your craft rubber stamp it also revitalizes and moisturizes your rubber stamp to prevent it from cracking over time. It's acid free, can clean all water based stamp inks, pigment ink, and dye. If you do not have the stamp cleaner you may use the baby wipe. Clean the rubber stamp immediately after used.
subscribe E-zine so that you won't miss the interesting crafts projects and other issues about dogs
example of craft using embossing techniques
other interesting crafts you can do and enjoy making, it's fun and easy!
Interested to know the next craft projects? Click here to subscribe and we will keep you updated
Homepage

